My First True One Day Build... Kinda
For a long time my fiancée has been wanting a metallic green dress similar to the one I made for myself, which I've been more than happy to do because she's not usually a fan of latex so I'm stoked she's interested in one. While the colour is the same as my one I made a few years back, she wanted a pencil dress similar to another she already had (in traditional fabrics). This project is well overdue, she requested it from me probably multiple years ago but it's just been on the back burner and I've been so bad at getting to it. So today (as of starting to write this) I measured her, made the pattern, cut the material and assembled it, which let me tell you, impresses me that I did it all in one day.
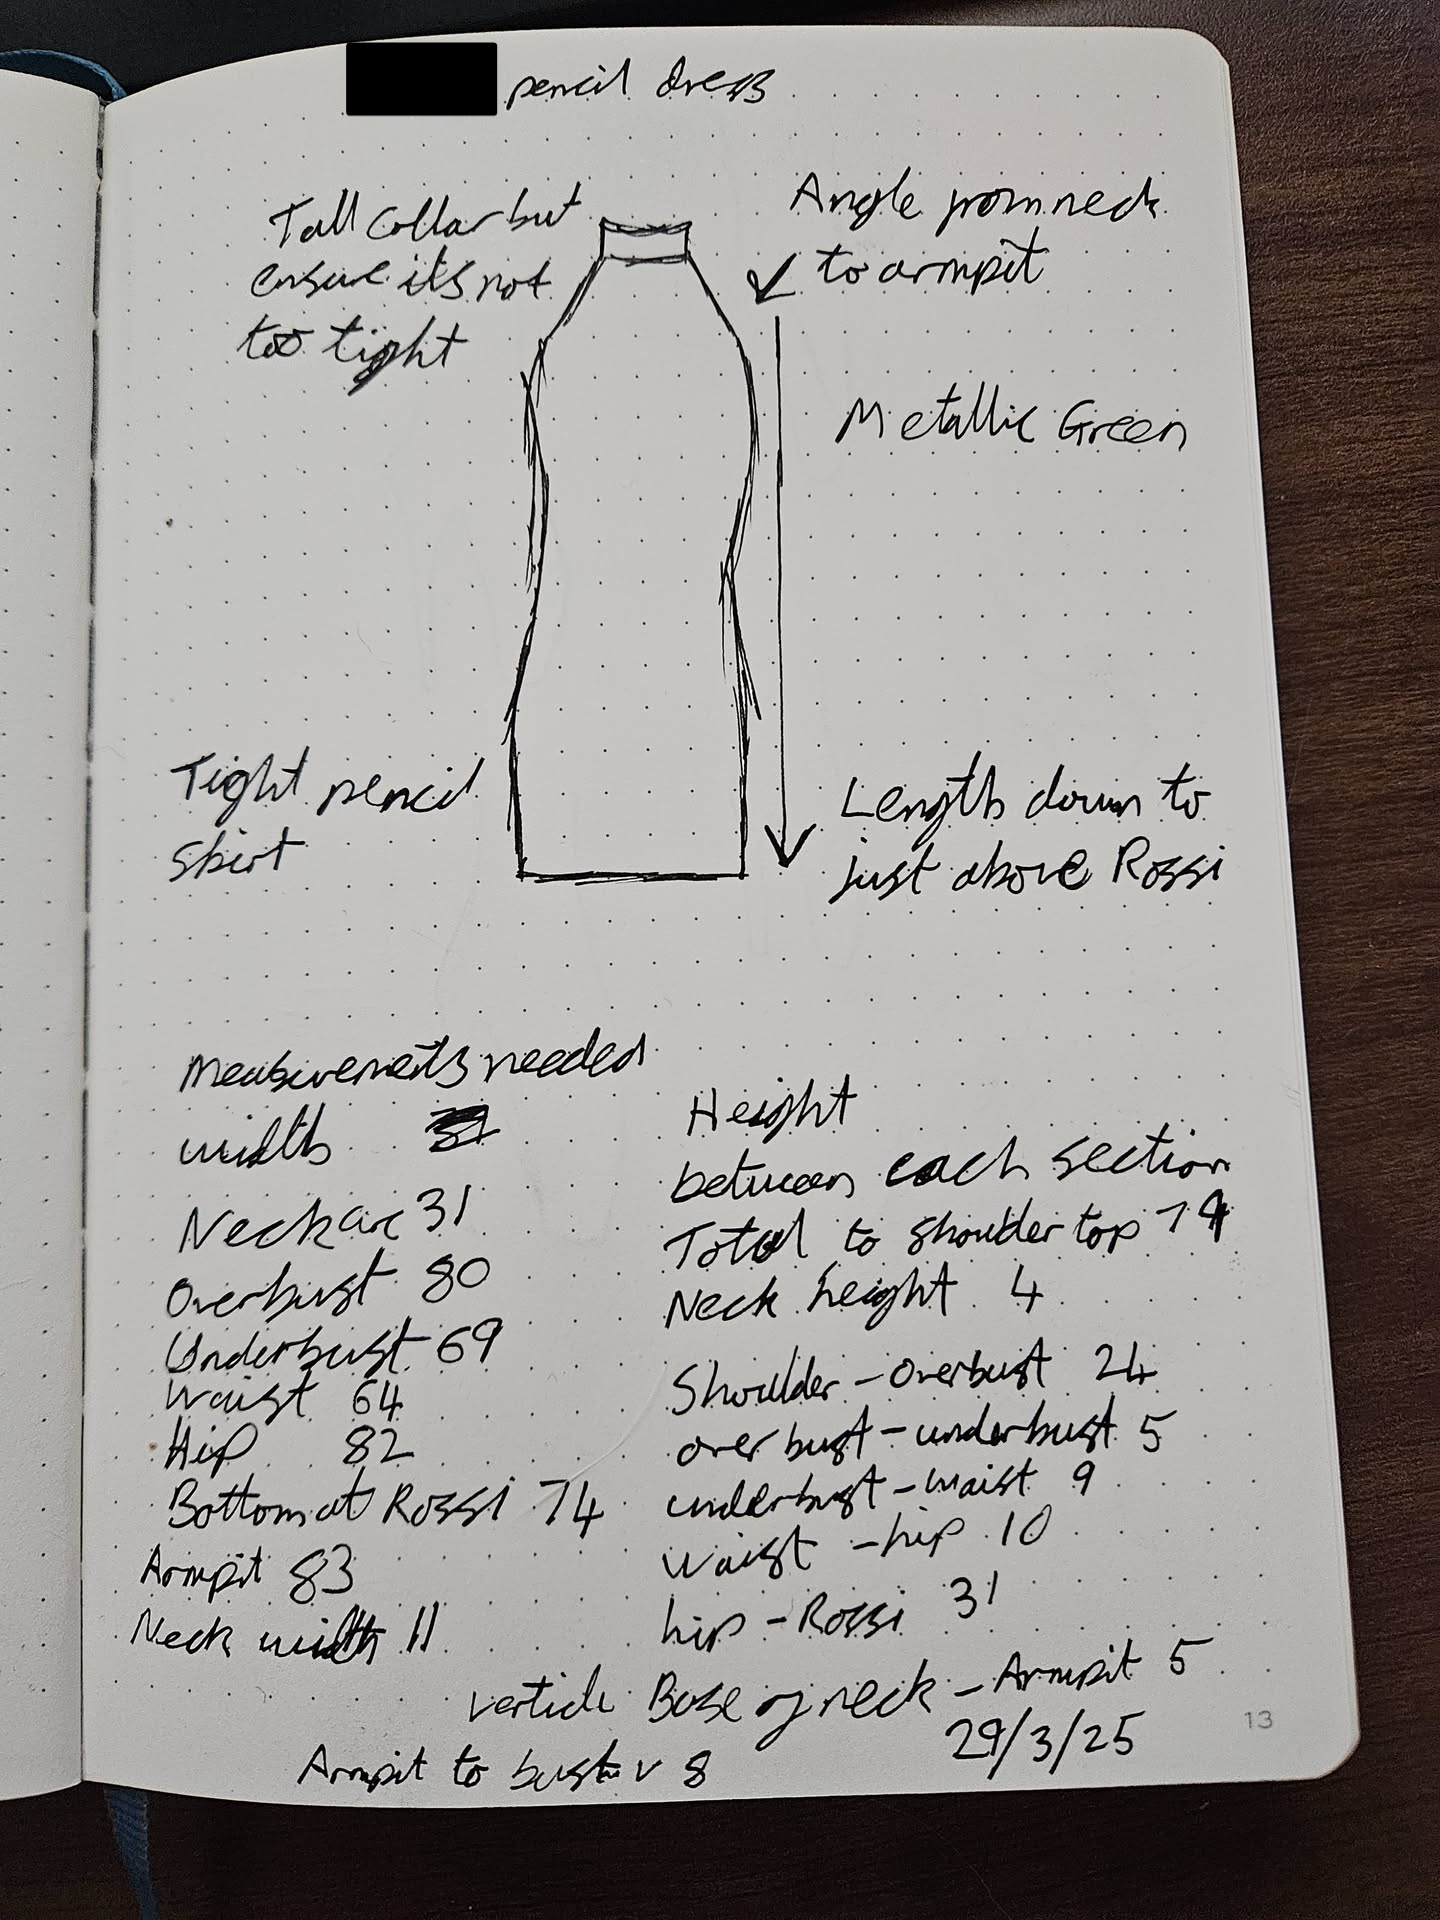
Design
I had drawn up the design just under a month ago as I'd been wanting to make a move on it and written out the expected measurements I'd need. When I did come to measure it today I did find a few missing ones to add to the list but it wasn't anything too majour. Mostly just a few extra things to match up the different parts together.
 I feel like a pencil dress is a lot simpler than a lot of things I've done, this one has a total of 6 seams for example for the entire garment. I did have a bit of trouble getting my head around making my thoughts into a pattern as usual, but honestly I definitely feel like I'm getting the hang of it. I was able to figure out those puzzles I got up to fairly quickly. In some ways it's nice making something for my partner because I was able to look at her and compare it to the design I was making to see if things seemed right, instead of usually making them for myself where best I have is a mirror and can't see all of me. After all that I ended up with these 2 pieces, simple right?
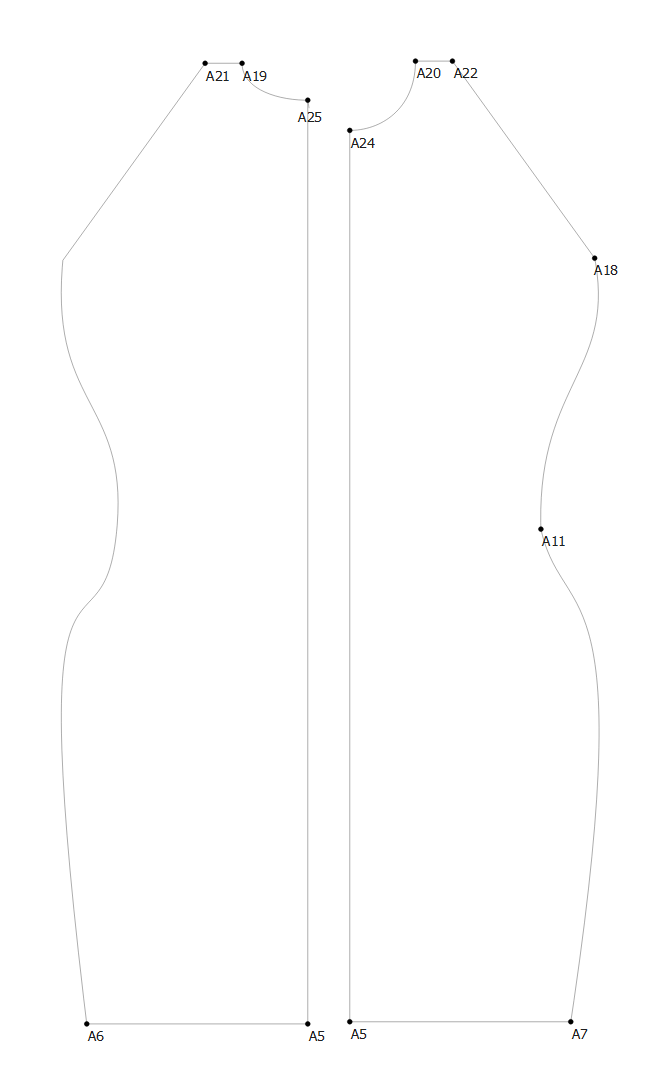 As usual with my patterns, I'll double them over in another bit of software and get them ready for laser cutting. p.s. I'm writing a proper run down of the laser cutter that goes over this in more detail, I imagine this will get posted first though so stay tuned. I also added a little rectangular piece in the laser cutting software to make the collar as it's easy enough to do right before cutting. And so that leaves us up to the next stage of the cutting!
Making
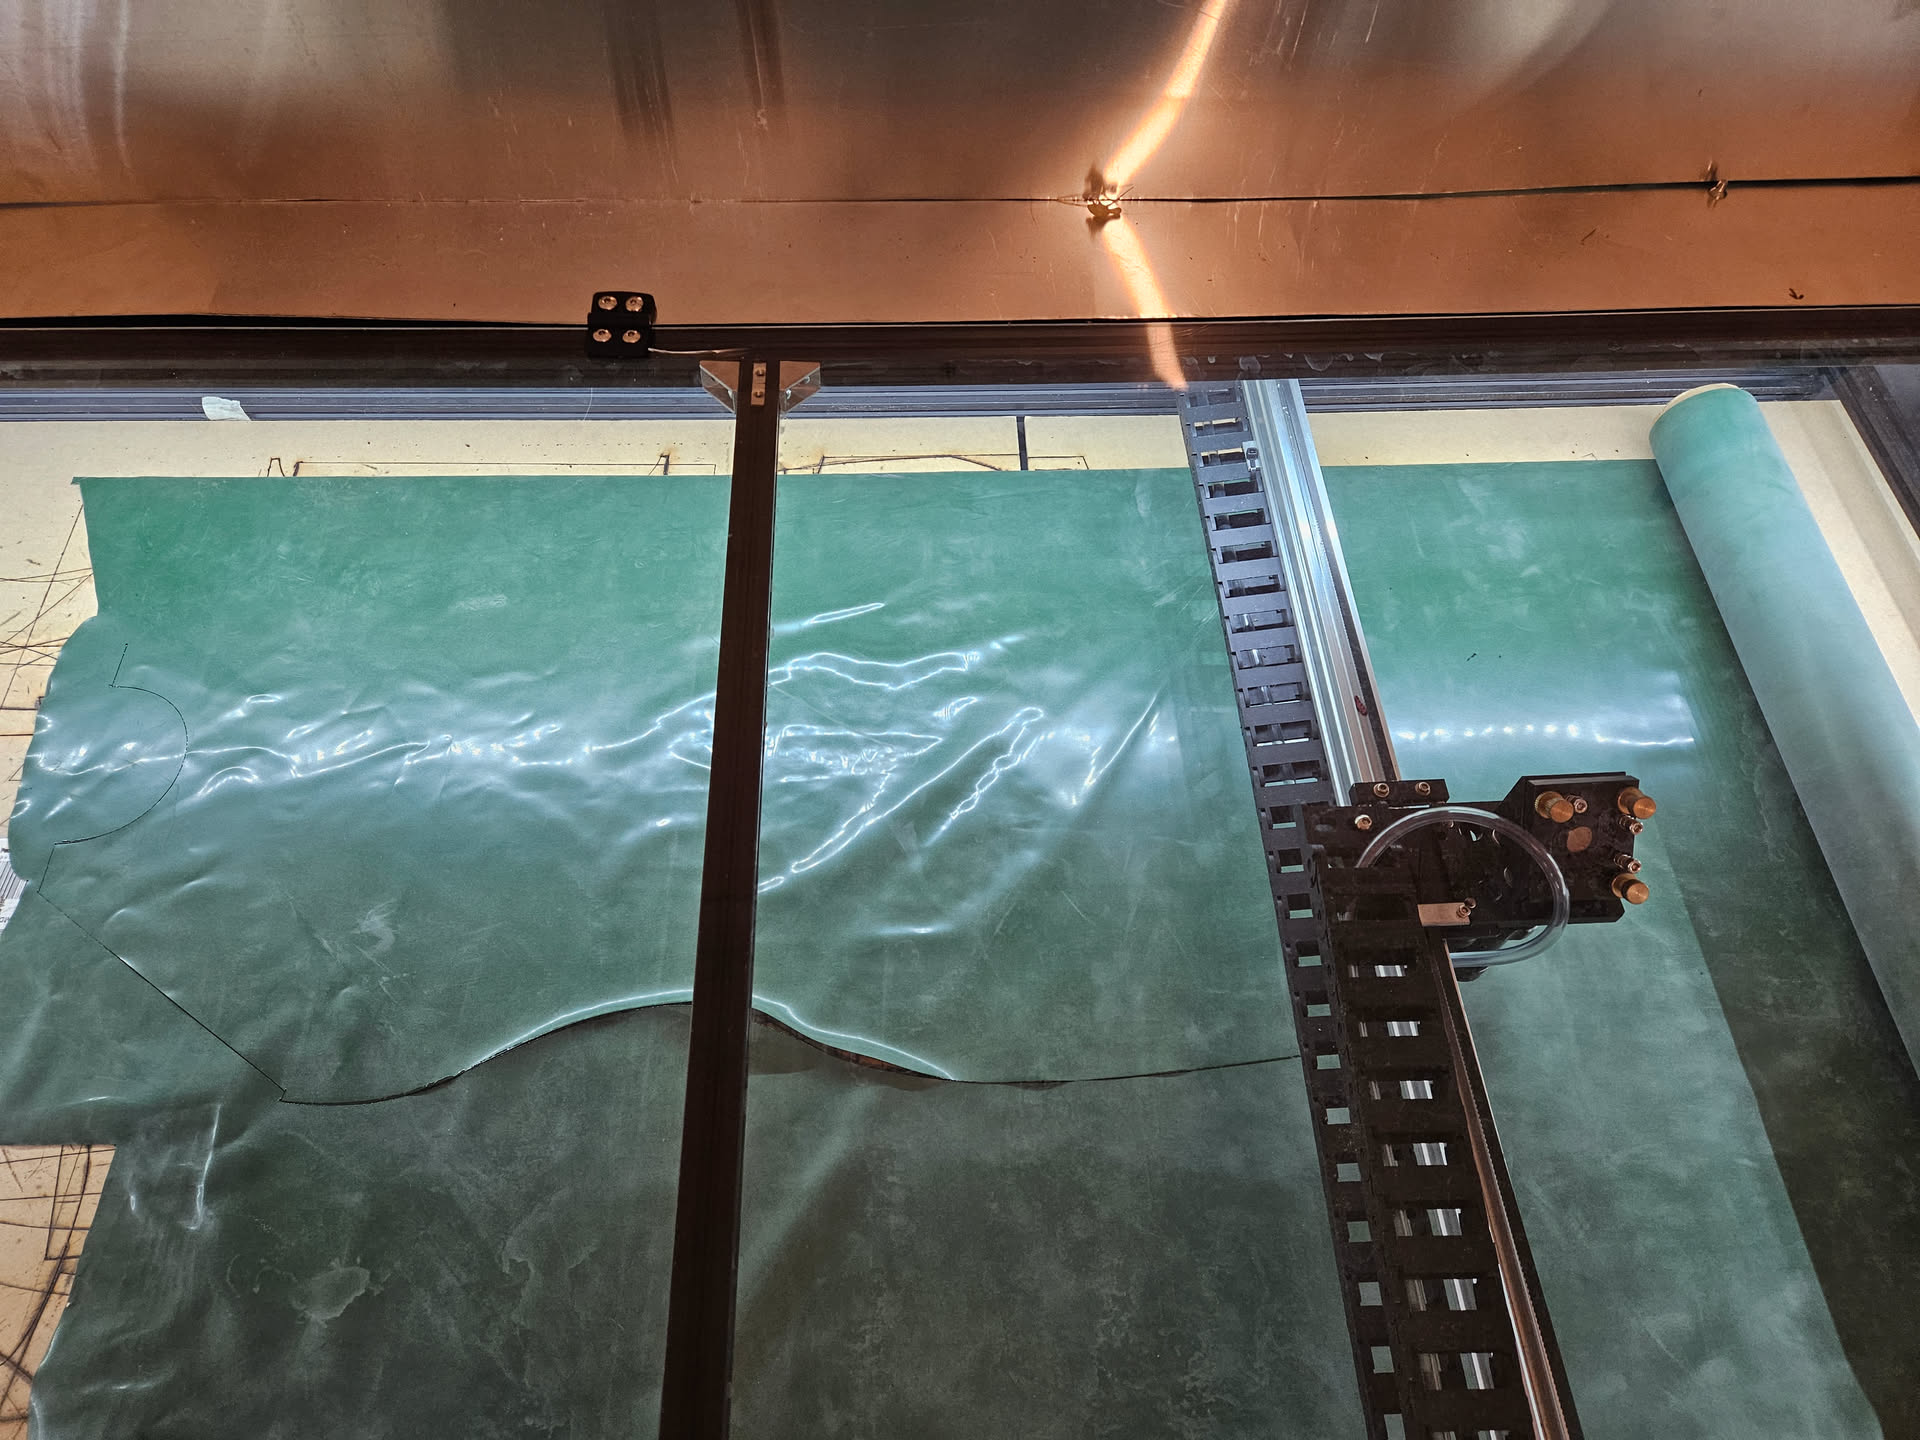
Cutting is simple enough, load the files into the software, line it up with the material and set it going. I don't have the most powerful of lasers so it takes a few minutes for each piece, but that's really not much in the grand scheme of things. Plus once the first piece is cut out I can just get on with cleaning that and starting to assemble everything while more cuts.
This particular project is only 3 pieces anyway, front, back and collar so super simple.
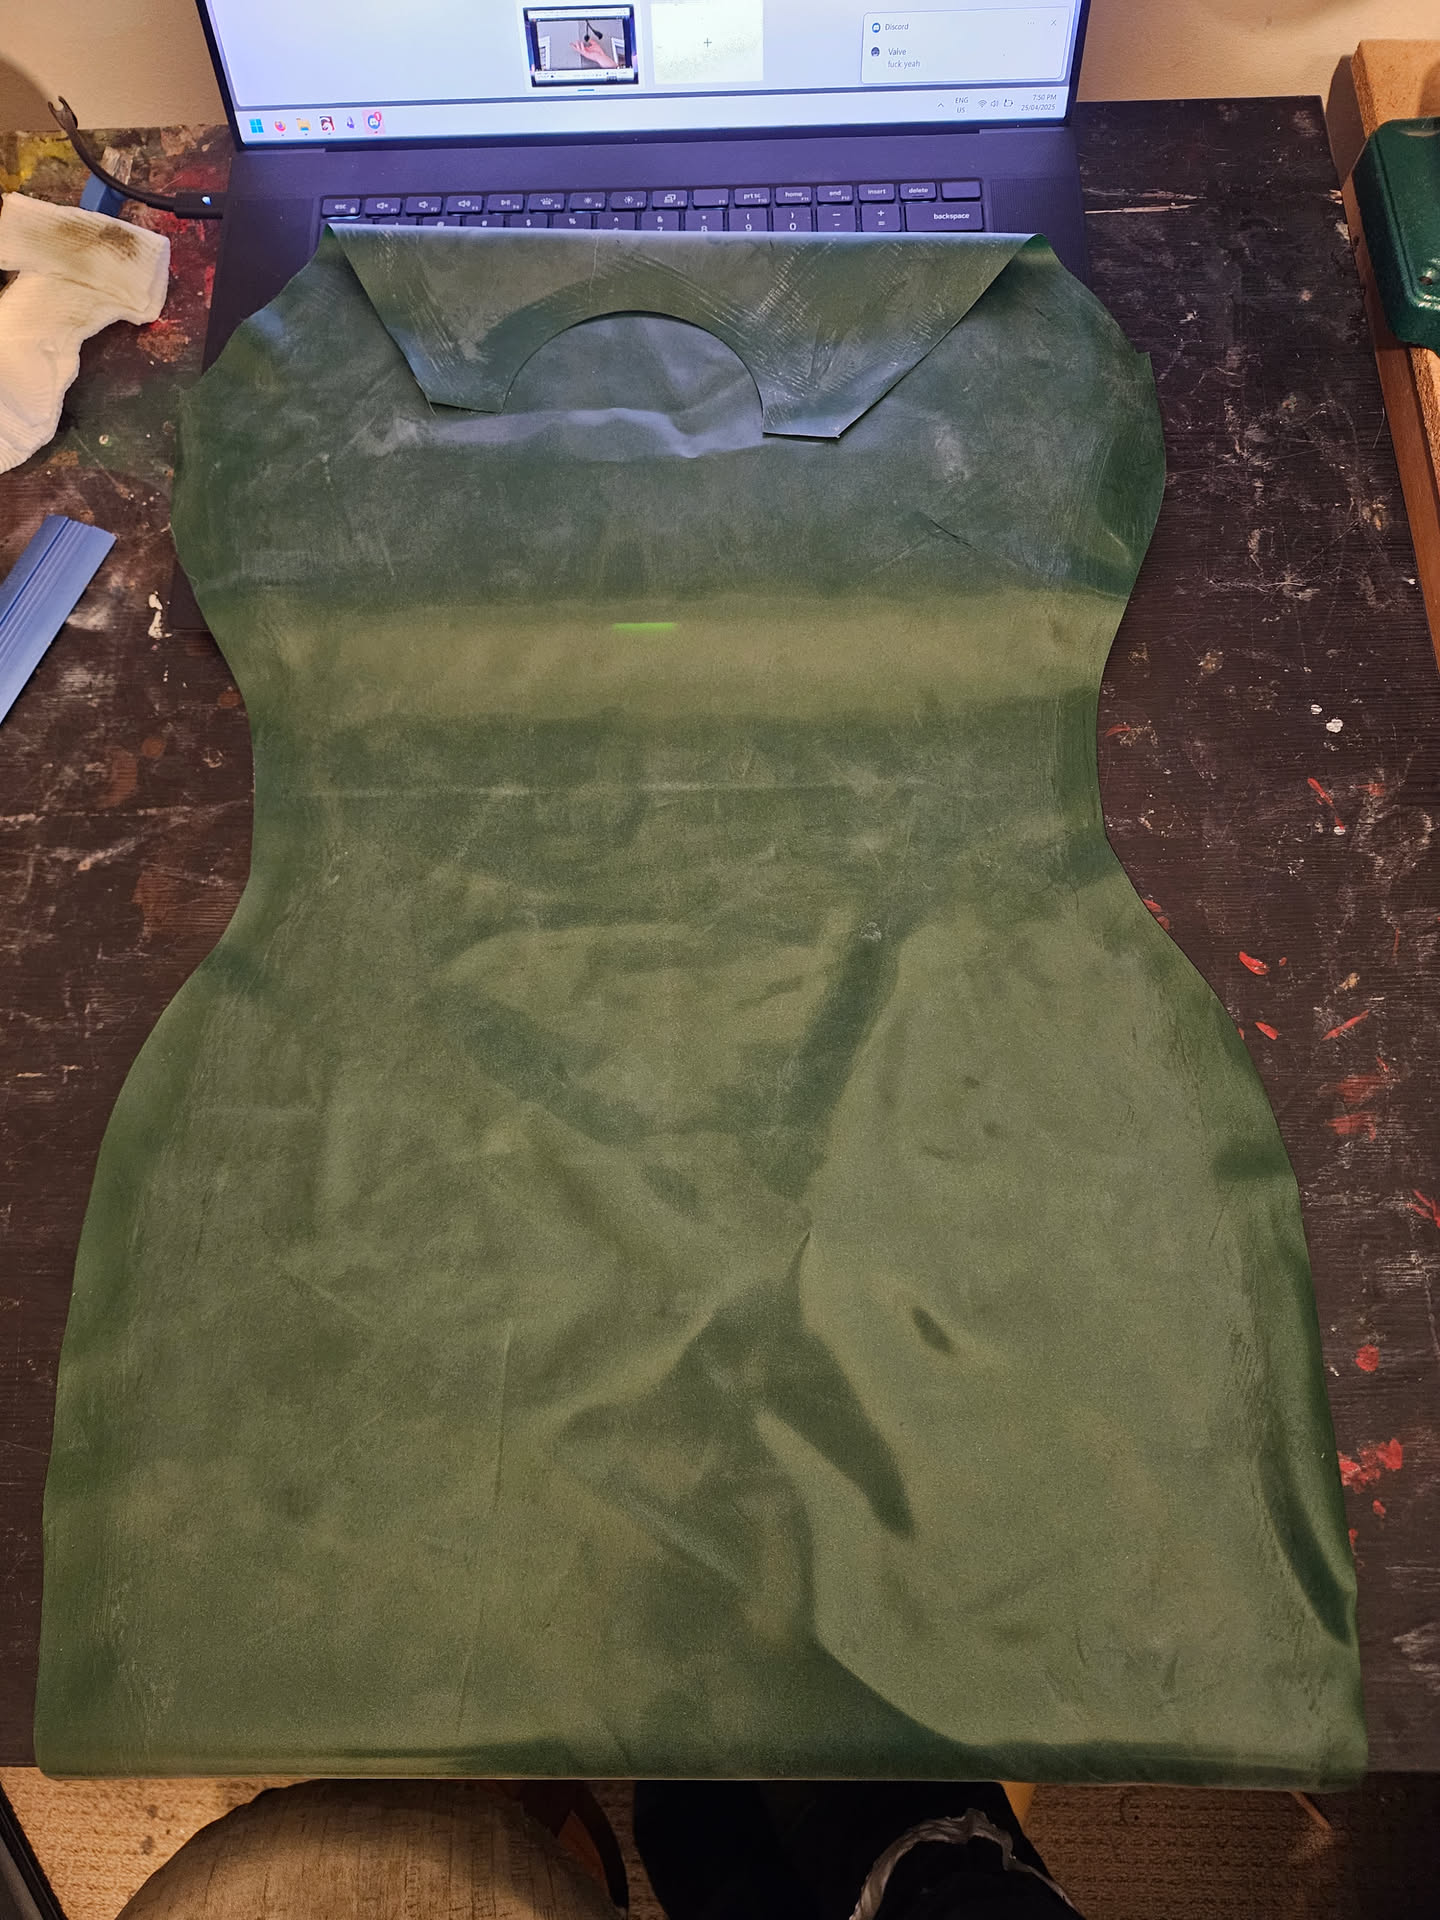
I didn't really take many photos of this project while working on it it seems, oh well. Once the pieces are cut I clean up the edges where I need to glue and get rid of the worst of the laser cutter schmoo. Laser cutter schmoo? yeah it leaves this oily residue where it has cut, it's going to be melted latex that just stays kinda gooey and oily, and I've found the best thing to clean it off with is white spirits, though that took a bit of trial and error.
Once they are clean, you put glue where you need it on both pieces and wait for it to mostly dry before putting them together, once together you press it firmly with a seam roller or similar to ensure it's firmly together.
As you might be able to tell by the length of the parts in this post, the design really is the hardest bit for me, but I think I've said that enough over all my posts....
6 seams later and we have an assembled dress, all in all this only took me an hour from cutting to when the assembly was finished. But add another hour or so for the design.
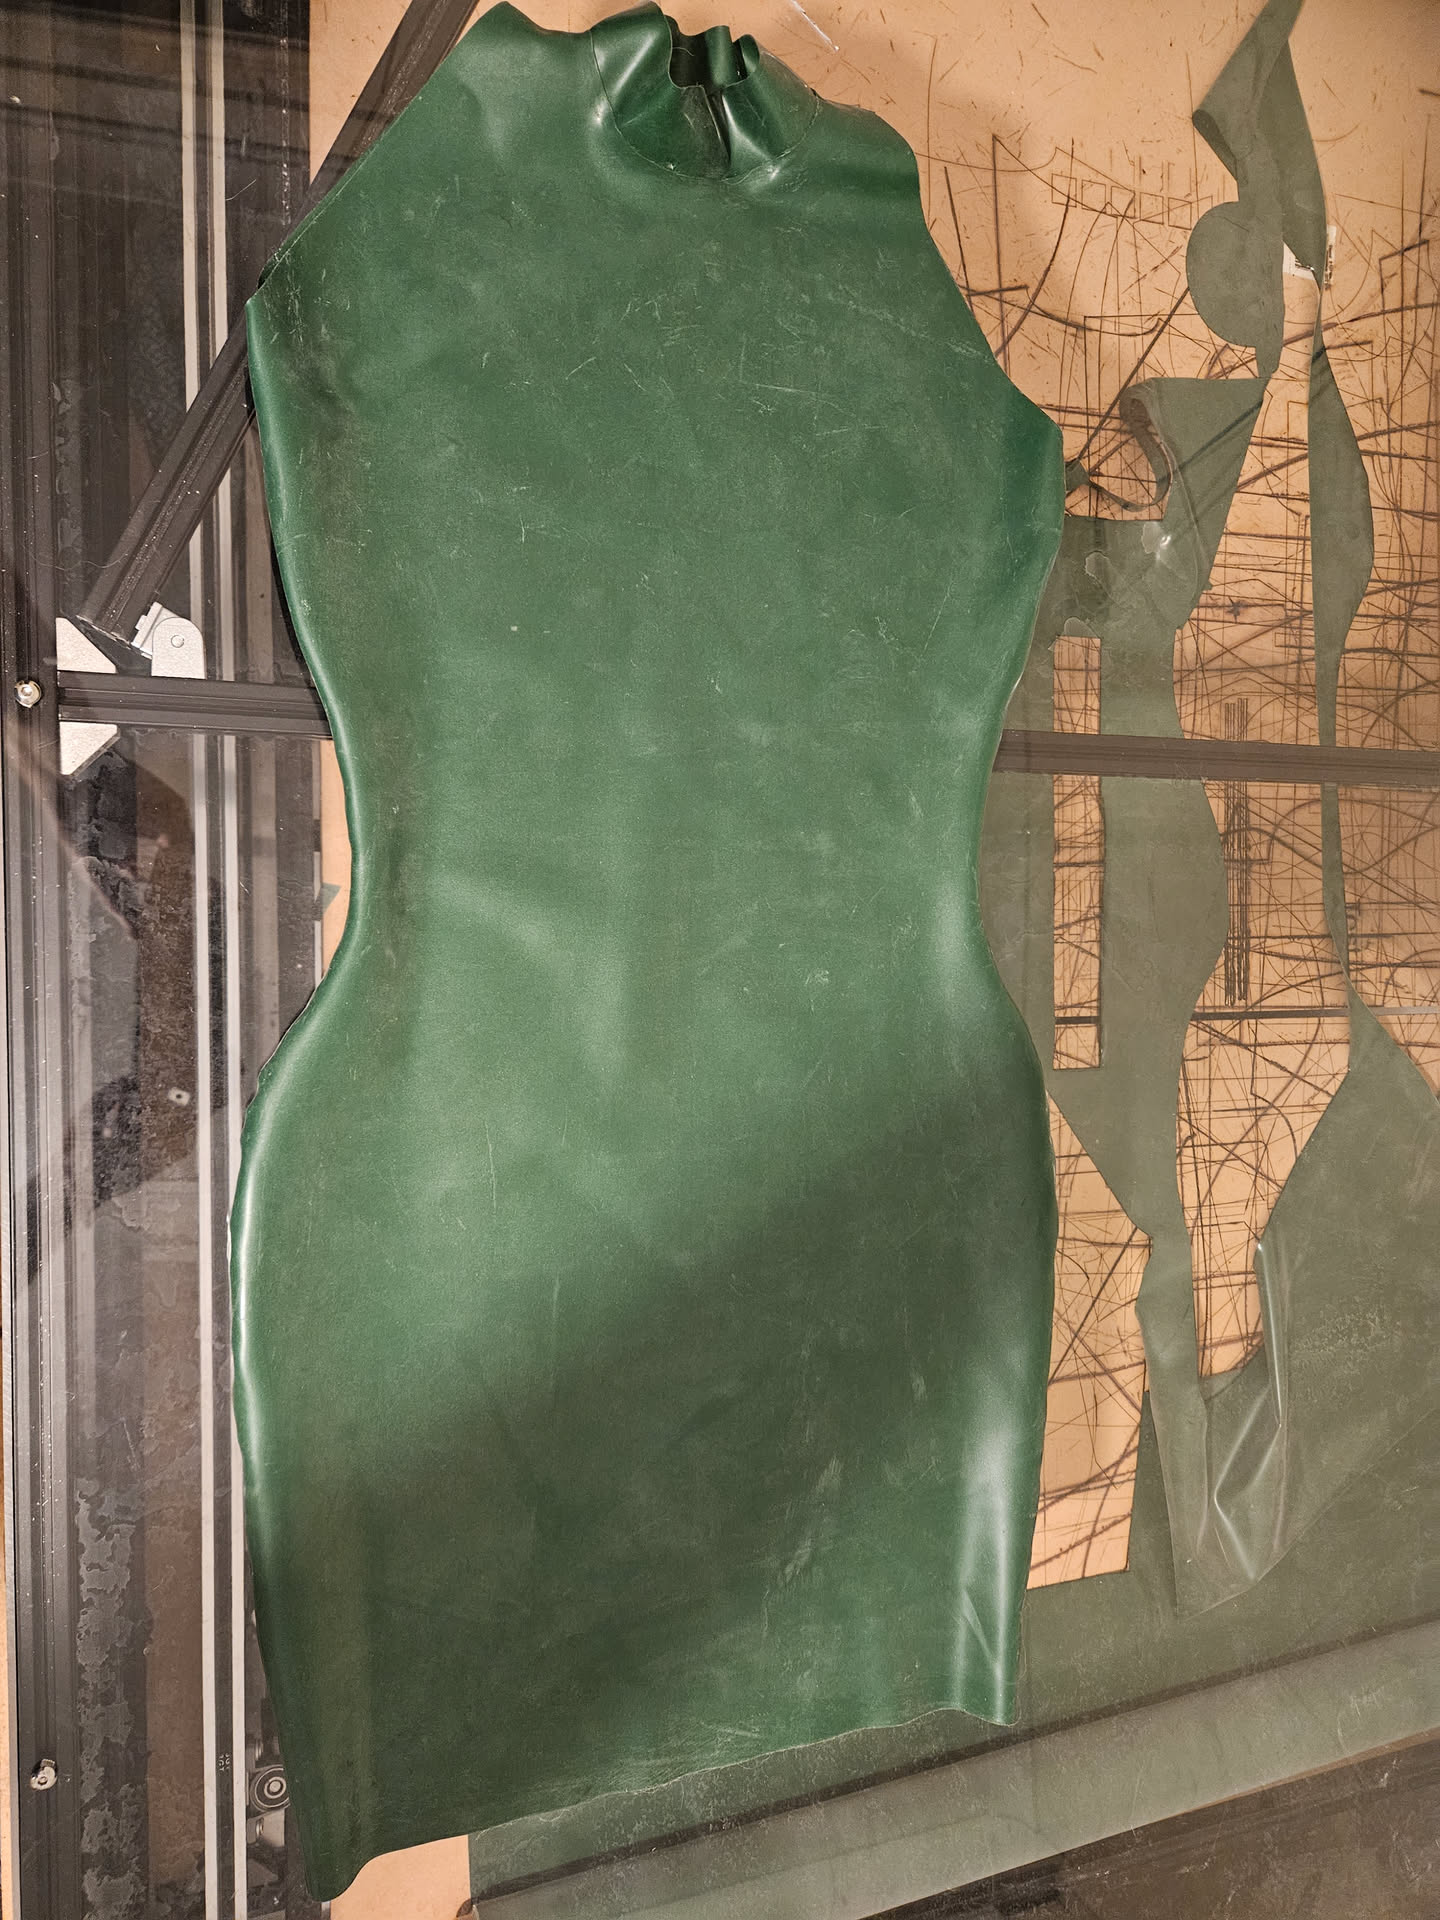
I'm very happy with how this dress came out, I think it will show off my fiancee's figure so well. Now, you might have noticed the future tense there even though I completed this a few weeks back now. Well that leads us into the next section about a V2 that's in the works.
V2
One thing I forgot when planning it was adding a zip to the back, this makes it much easier to get in and that's certainly more of the preference for my fiancee. She did try it on like this but between not being used to putting latex on, and how it's shaped, one of the seams tore below the armpit. I'm not exactly surprised I have to make a V2 of this, but I expected it more to be getting the neck/collar or something like that wrong. She still put it on enough to test these and confirm that it fits well in those areas, so that's good. Realistically, the main change will be the back zip to make it easier to wear, but unfortunately for this I don't have the right size currently. I have found some continuous zip's that are suitable and will order those so I can just cut custom lengths for various projects as needed. So please stay tuned for the post about that one when it's done as well!
All in all I'm very happy with this project, it's reinforced the thought to me that I actually understand how pattern making works these days, well atleast a lot better than I used to. I was able to make the (albeit fairly simple) pattern so quickly and painlessly and turn it into the garment within a day. Things like this make me feel very confident in my craft, which isn't where I had been for a few years. I just really want to create more and more at this point, I am just super encouraged to keep going, and I'm really happy about that.